There’s something deeply comforting about stepping outside, picking a few leaves or flowers, and knowing you can make something helpful from them. A backyard apothecary isn’t about having every plant or recreating an old-world herb garden — it’s about growing a small, thoughtful collection of herbs you will actually use.
If you’ve ever dreamed of gathering healing plants from your own yard, this simple guide will help you get started.
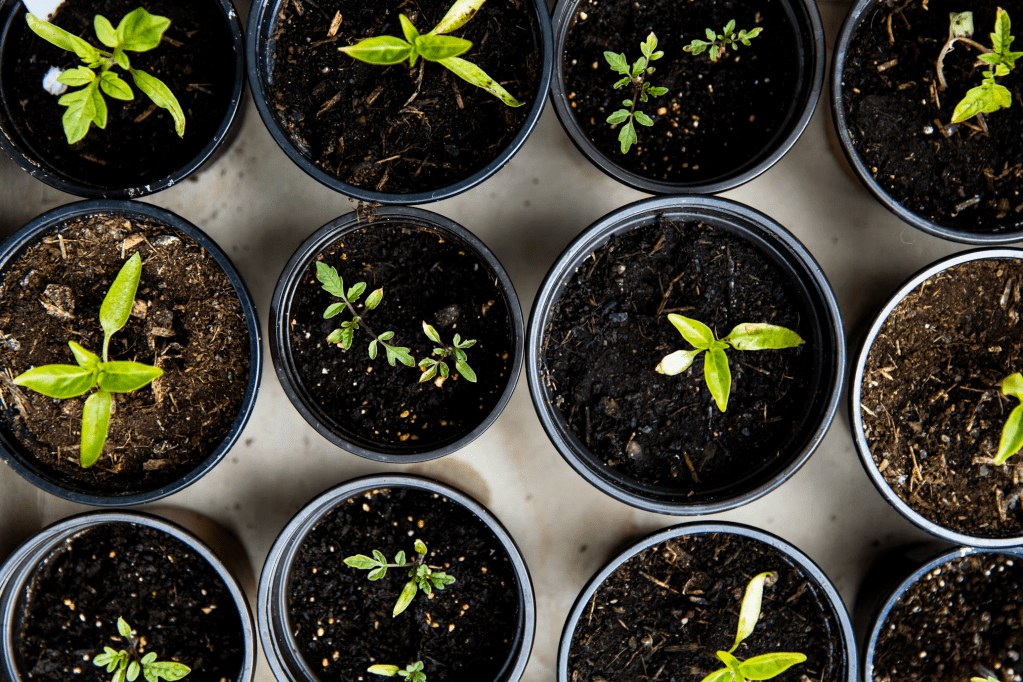
🌱 Start Small (Truly — Start Small)
It’s easy to get excited and plan thirty plants all at once. But the most successful backyard apothecaries grow slowly.
Begin with:
✔ 3–6 herbs
✔ you understand
✔ and will reach for often
This lets you learn how each plant grows, feels, tastes, and works — instead of juggling too many at once.
☀️ Choose the Right Spot
Your apothecary doesn’t need to be large or fancy.
Look for a place that has:
- 6–8 hours of sunlight (most medicinal herbs love sun)
- Good drainage (not swampy after rain)
- Easy access to water
- A spot that YOU actually like to visit
Raised beds, borders along fences, large pots, and tucked-away garden corners all work beautifully.
If space or mobility is limited, a container apothecary is absolutely valid — herbs grow happily in pots.
🌿 Beginner-Friendly Apothecary Plants
Here are great starter herbs: dependable, forgiving, and useful.
- Chamomile – Calming, soothing, lovely in teas.
- Lemon Balm – Bright, uplifting, gentle on the nervous system.
- Calendula – Supports skin and lymph — gorgeous flowers, too.
- Peppermint – Digestive support and refreshing teas.
- Nettle – Nourishing, mineral-rich (plant where it can stay — it spreads!)
- Echinacea – Beautiful pollinator plant, immune-supporting roots and flowers.
Pick a few that fit your climate, space, and needs, then add more over time.
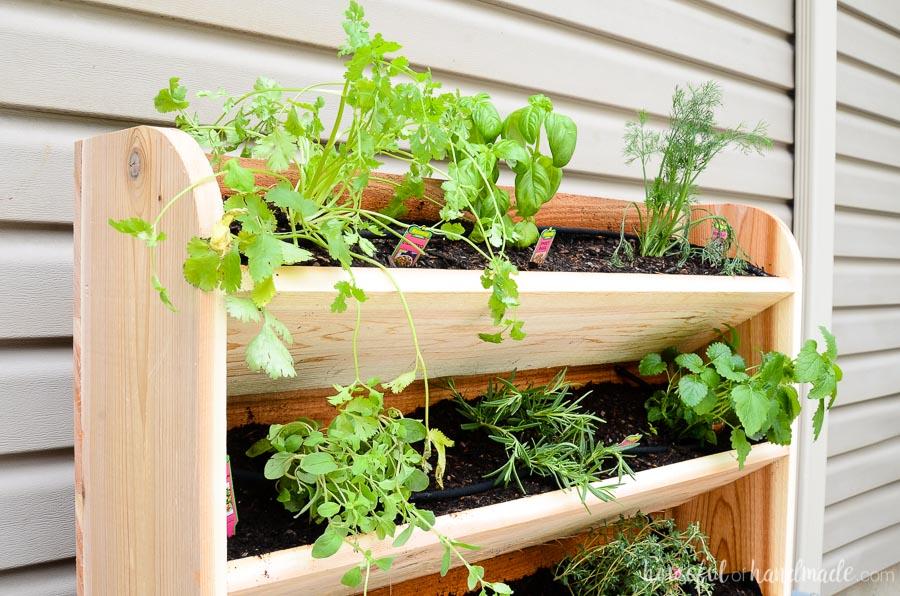
🪴 Containers Work Wonderfully
If soil is poor or space is limited, pots are your friends.
✔ 10–14” pots work for most herbs
✔ Use good-quality potting mix
✔ Water regularly — containers dry fast
✔ Group pots near your door so you actually use them
Mint especially prefers pots (unless you want a peppermint yard).
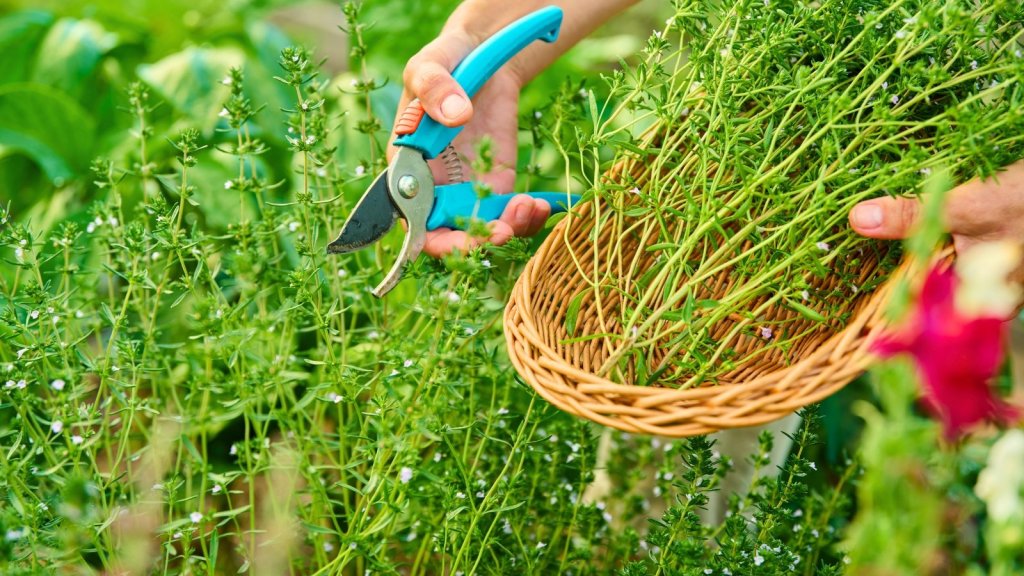
✂️ Harvesting Basics
There’s an art to harvesting, but it’s simpler than it sounds.
- Harvest leaves just before flowering
- Harvest flowers when fully open
- Harvest roots in fall after the plant dies back
- Always leave enough for the plant to thrive
Try to take only what you’ll use. That mindfulness matters.
🍵 What to Do With Your Harvest
Your apothecary is meant to be used, not just admired.
With your herbs, you can make:
- teas and infusions
- tinctures
- salves and oils
- syrups
- herbal bath blends
Start with simple preparations and work up from there. Mastery grows with experience.
📦 Label Everything
It’s easy to think you’ll remember… until you don’t.
Always label:
✔ plant name
✔ part harvested
✔ date
✔ where it came from
Future you will be deeply grateful.
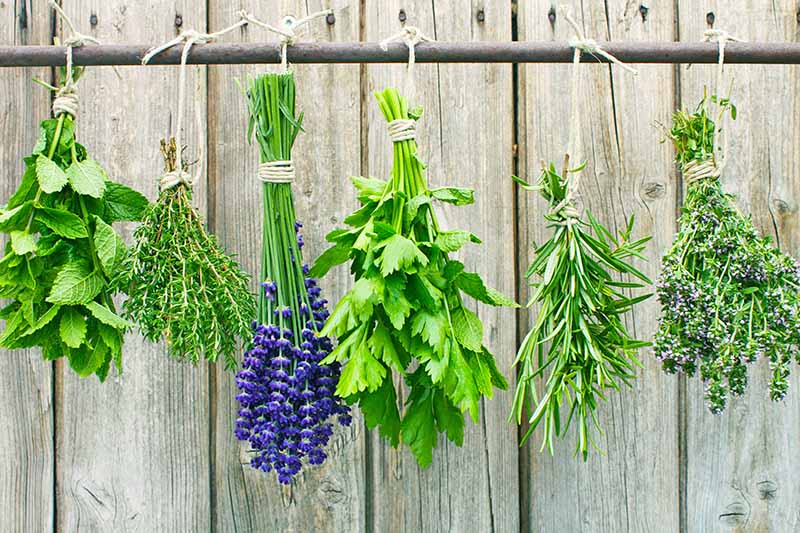
🧺 Drying & Storing Herbs
Proper drying makes all the difference.
- Spread herbs in a single layer on screens or baskets
- Keep out of direct sunlight
- Good airflow is key
- Store in jars once crispy-dry
Avoid plastic long-term — glass keeps herbs fresher.
🌙 A Backyard Apothecary Is a Relationship
Growing your own herbs isn’t just practical — it reconnects you to rhythms we forget in modern life.
You learn:
✨ patience
✨ seasonality
✨ gratitude
✨ and how your body responds to plants you tended yourself
Your apothecary becomes not just a garden, but a quiet sanctuary.
🧡 Final Thought
Creating a backyard apothecary doesn’t require perfection, special tools, or years of experience. It requires curiosity, consistency, and a willingness to start small.
Plant a few herbs. Learn them. Use them. Add slowly. Before long, you’ll look around and realize you’ve built something truly beautiful and deeply useful — right outside your door.
